What to Look for in Dental Implant Before and After Photos
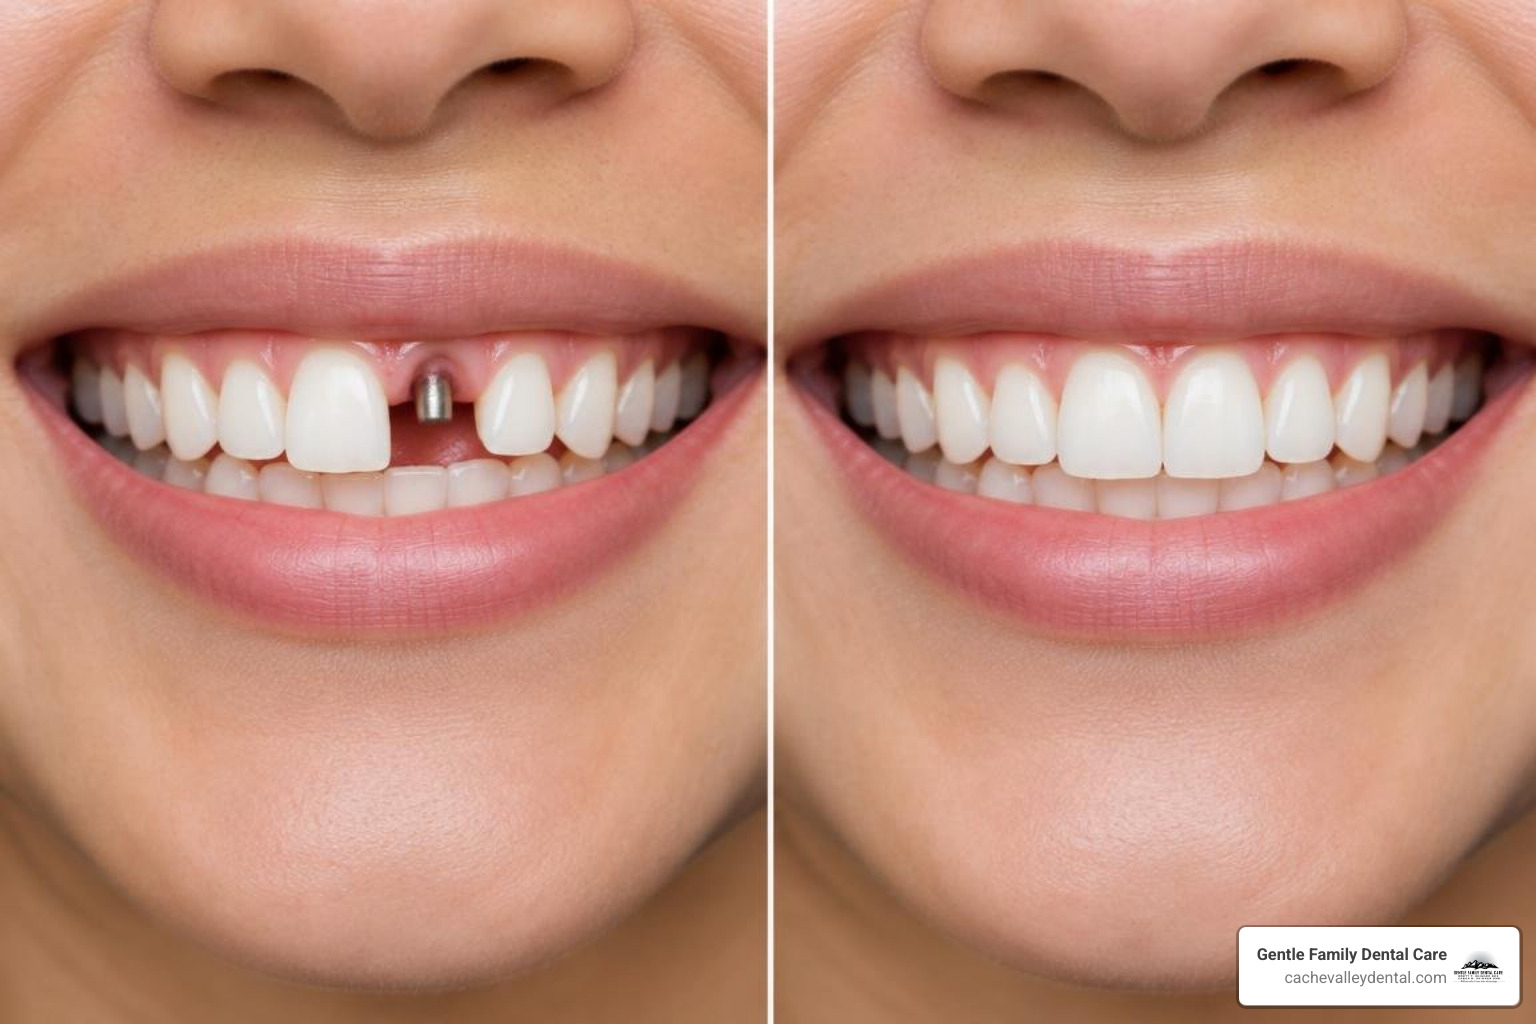
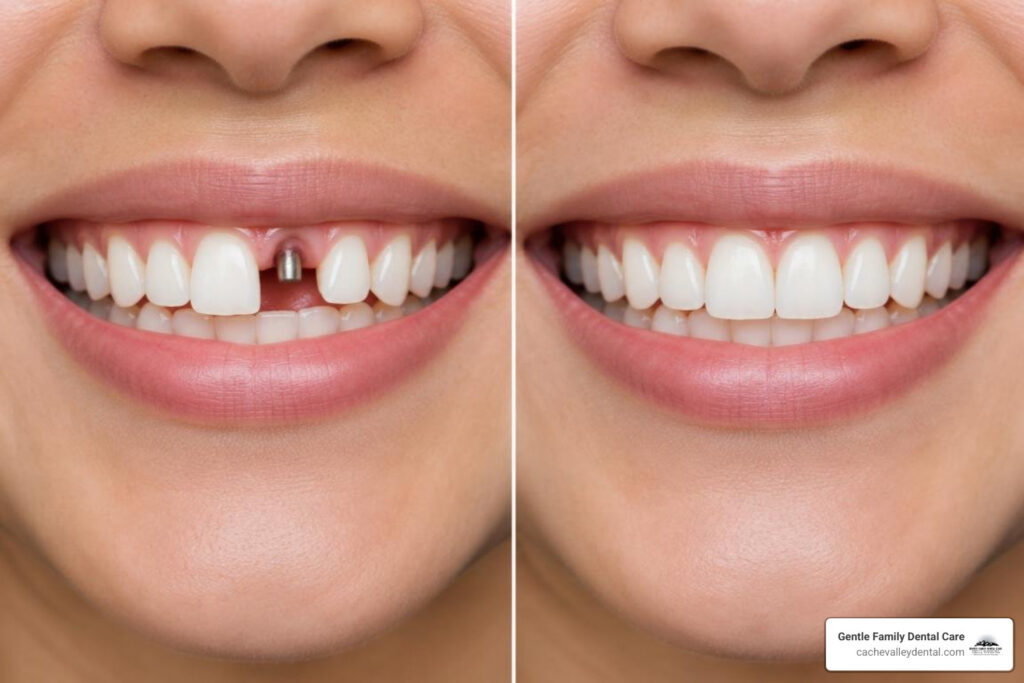
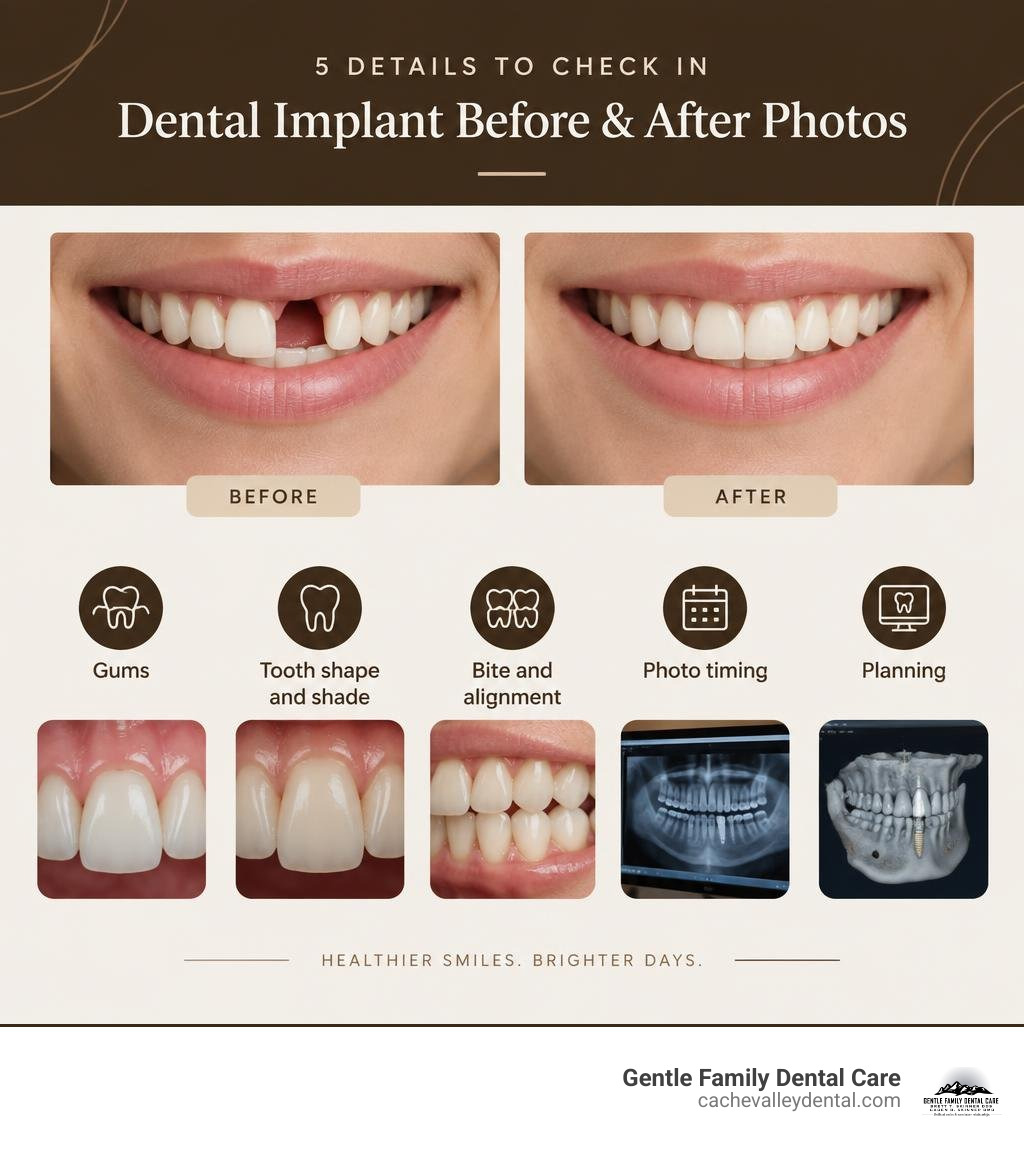
The best implant before after photos show more than a whiter, gap-free smile. Look for natural gum lines, even tooth proportions, a balanced bite, and photos taken at the same angle and lighting. Also ask whether the “after” image shows temporary teeth or the final restoration. A polished photo can look great, but the real goal is a smile that feels comfortable and works well when you eat and speak.
When comparing cases, use this quick checklist:
- Gums: Do the gums look healthy and even around the implant crown?
- Tooth shape and shade: Does the new tooth blend with nearby teeth rather than look flat or overly bright?
- Bite and alignment: Do the teeth meet naturally without obvious crowding or uneven edges?
- Photo timing: Was the image taken after healing, often several months after implant placement?
- Planning: Was the treatment based on digital imaging and the patient’s available bone?
At Gentle Family Dental Care, we help patients in Logan and across Cache Valley, including Smithfield, North Logan, and Hyrum, understand what dental implant results can realistically look like for their smile. Good results begin with careful diagnosis, not just a great-looking gallery image.
How to Accurately Evaluate Dental Implant Before After Photos
Looking at visual smile transformations online can be exciting, but evaluating clinical outcomes requires a discerning eye. A dramatic transformation catches your attention right away, yet true restorative success relies on deep diagnostic planning.
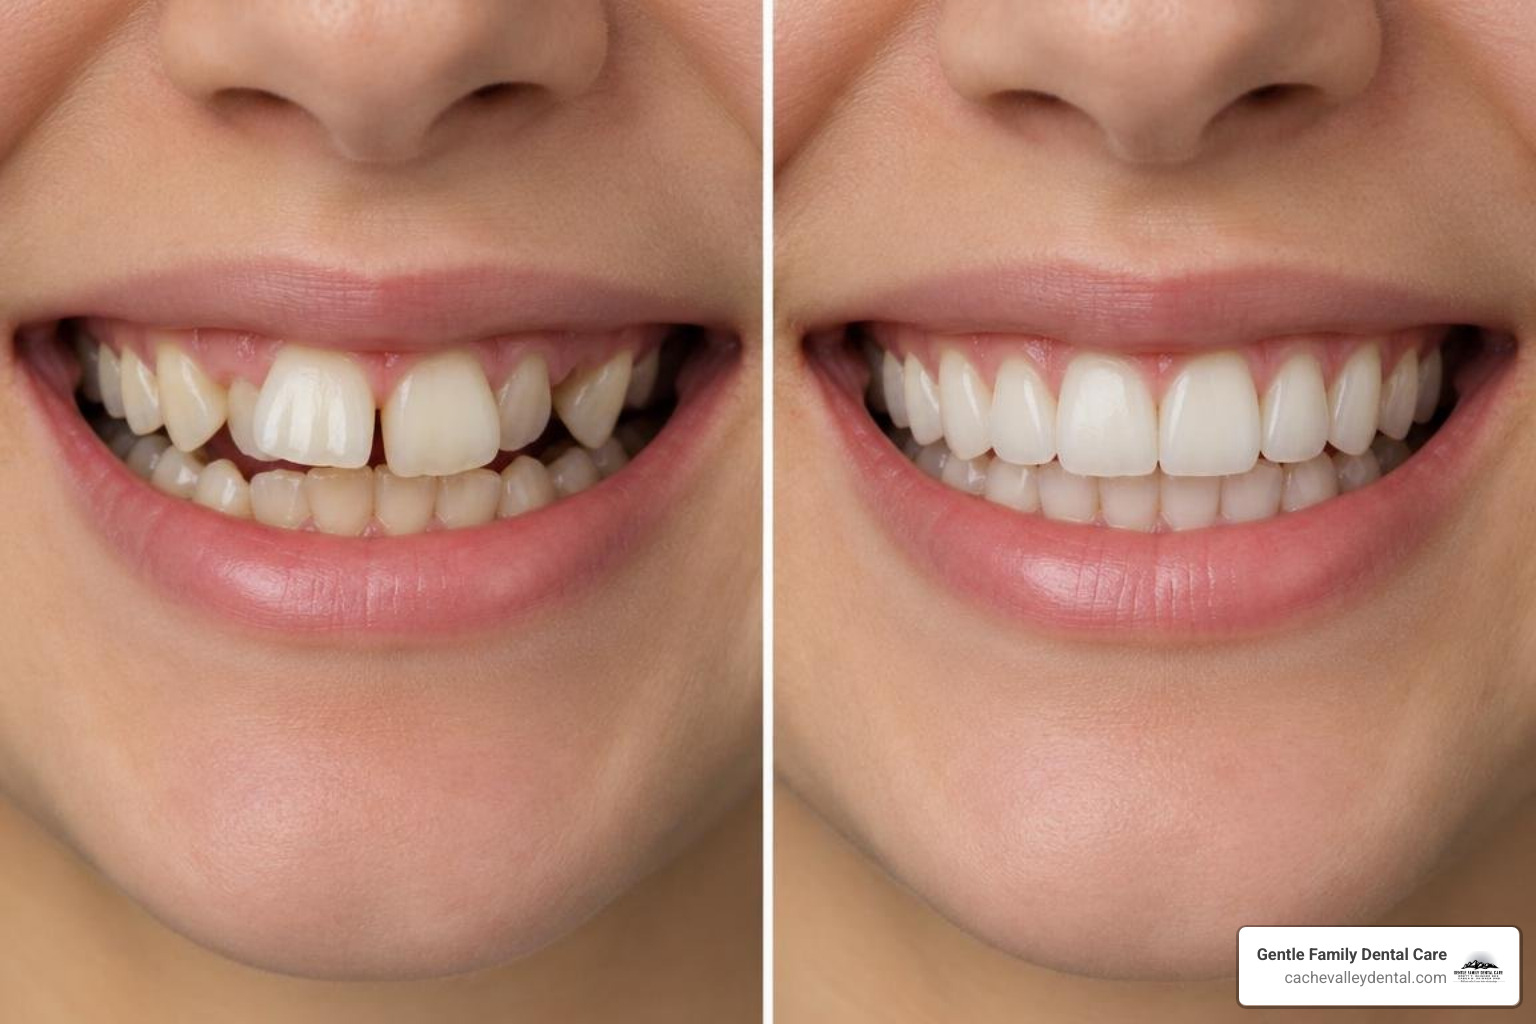
When teeth are missing, the surrounding jawbone naturally recedes over time because it lacks the everyday stimulation that roots provide. In a quality case, you can see how dental implant treatments rebuild that structural foundation. Advanced 3D cone beam computed tomography (CBCT) imaging allows clinicians to map nerve pathways, evaluate bone volume, and place implants precisely where they will support both aesthetics and full chewing function.
Whether a patient needs a single replacement tooth or a full-arch restoration, visual benchmarks differ significantly:
| Visual Indicator | Single-Tooth Replacement | Full-Arch Reconstruction (e.g., All-on-4 / All-on-6) |
|---|---|---|
| Gum Contour | Must seamlessly mirror the adjacent natural scalloping. | Needs a smooth, clean transition along the prosthetic ridge. |
| Color Matching | Must match the exact shade, translucency, and character of neighbors. | Requires uniform, natural aesthetic harmony across the entire smile. |
| Bite Plane | Must fit precisely into the patient’s existing bite pattern. | Completely re-establishes vertical height and proper occlusal plane balance. |
| Symmetry | Focuses on individual tooth proportions against the opposite tooth. | Focuses on midline alignment with the nose, lips, and facial center. |
Assessing Gum Line Symmetry in Implant Before After Photos
In dental aesthetics, what specialists call “pink aesthetics” matters just as much as “white aesthetics.” The gum tissue surrounding an implant should exhibit healthy, natural emergence profiles rather than appearing flat, blunted, or inflamed.
Pay close attention to the small triangles of gum tissue between the teeth, known as the interdental papillae. When an implant crown is designed properly, it supports the soft tissue so that it hugs the restoration naturally without dark triangular voids (“black triangles”) or abrupt architectural steps.
Verifying Lighting and Angles in Implant Before After Photos
A reliable gallery presents images captured with consistent photographic standards. If a “before” image is taken under harsh overhead lighting with a closed mouth, while the “after” image features studio flashes, makeup, and an angled head tilt, discerning the true quality of the dentistry becomes difficult.
Authentic clinical galleries maintain identical head posture, direct flash positioning, and high-resolution focus. Reputable practices highlight honest, standardized clinical cases where you can evaluate the precise margins and bite alignment under clear, unvarnished clinical lighting.
5 Subtle Details That Reveal True Dental Implant Quality
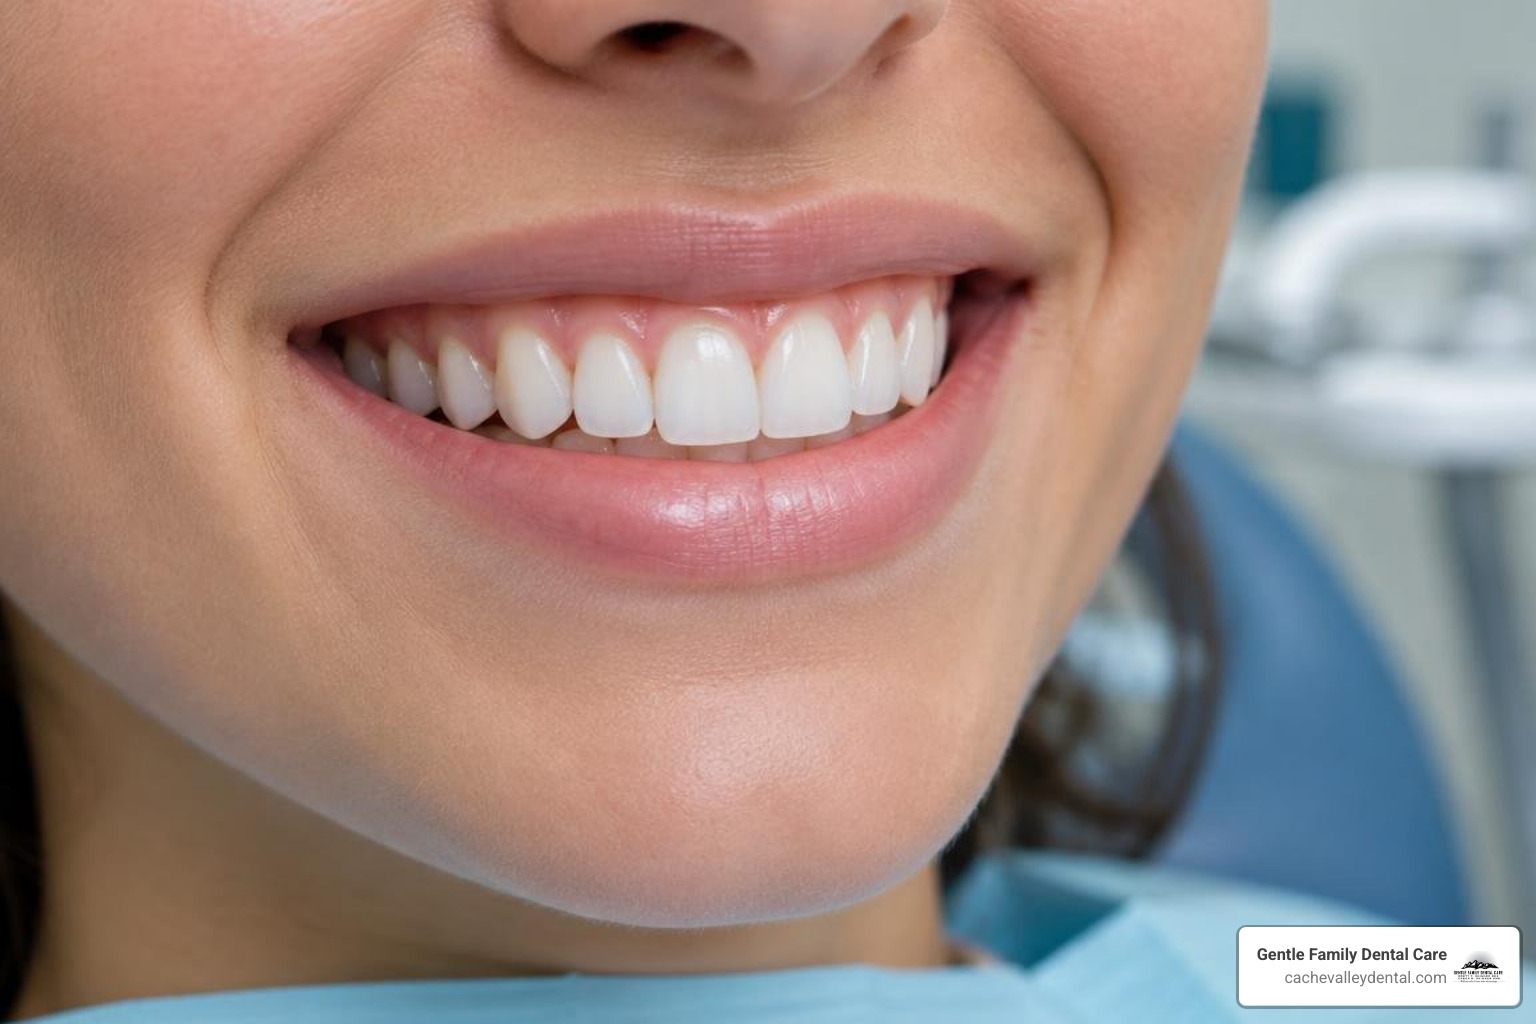
To separate average results from exceptional artistry, look closely at these five subtle technical elements in any post-treatment image:
- Incisal Edge Translucency: Natural teeth are not solid blocks of opaque white. They have subtle gradations, showing light-reflecting translucency along the biting edges. Premium restorations utilize modern materials, often paired with custom cosmetic dentistry techniques, to mimic the multi-layered optical properties of organic enamel.
- Proper Emergence Angle: The implant crown should look like it grows out of the gum tissue organically, matching the natural tilt and width of surrounding teeth rather than flaring out unnaturally.
- Midline and Lip Line Harmony: When smiling broadly, the edges of the upper teeth should gently follow the natural curve of the lower lip, with the central gap lining up neatly with the middle of the facial features.
- Balanced Occlusal Plane: Teeth should meet evenly along a horizontal plane. If the teeth on one side appear noticeably longer or tilt upward, bite forces will distribute unevenly, risking future wear.
- Proportional Tooth Width-to-Length Ratios: Central incisors should maintain a golden proportion relative to lateral incisors and canines, preventing teeth from looking unnaturally square or overly elongated.
Transitional Provisionals vs. Final Zirconia Restorations
In extensive reconstructions, treatment typically unfolds in structured phases. On surgery day, patients often receive immediate provisional fixed teeth while the titanium posts integrate with the jawbone.
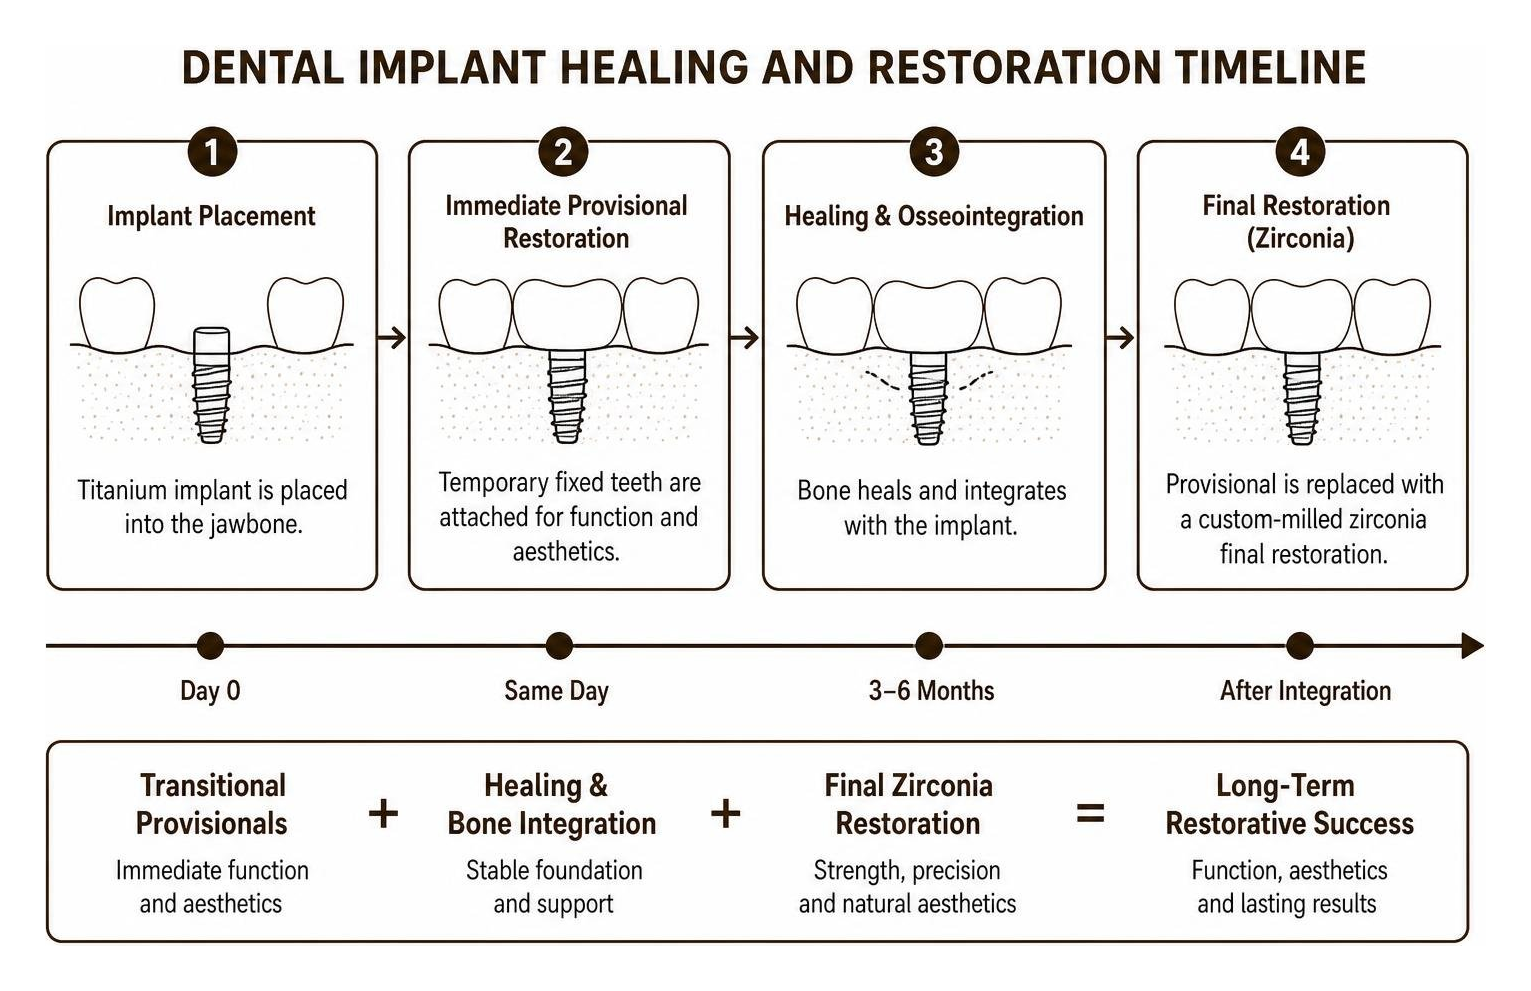
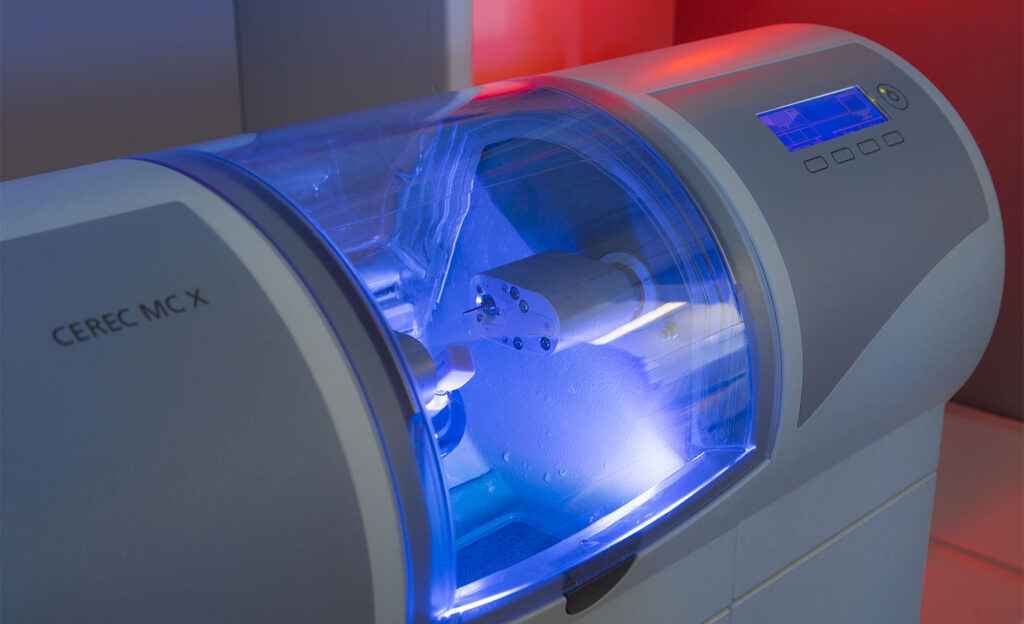
A healing window of three to six months allows the bone to mature around the implants. After full osseointegration, the temporary bridge is replaced with a custom-milled zirconia final restoration. When reviewing case portfolios, always check if you are looking at immediate transitional provisionals or the refined final prosthetic.
Bone Density and Facial Profile Support
When multiple teeth are lost, the lower third of the face can collapse slightly, causing thin lips and premature wrinkles around the mouth. This same relationship between skeletal framework and soft tissue drape is why facial plastic specialists carefully evaluate underlying structural support in a chin and cheek implant case or when reviewing chin augmentation results.
In dentistry, full-arch restorations rebuild lost alveolar ridge volume, restoring the correct bite height and providing natural lip projection. Evaluating profile photos helps you see how an implant restoration restores balance to the patient’s entire lower face.
Behind the Smile: Clinical Factors Hidden from Visual Galleries
A photograph captures a single moment in time, but the true success of an implant lies beneath the surface in long-term biological health.
A beautiful smile is only as durable as the clinical engineering supporting it. Important technical aspects include:
- Primary Stability & Bicortical Engagement: Engaging dense cortical bone ensures the implant remains firmly seated from day one.
- Microscopic Surface Technology: Advanced micro-rough, hydrophilic implant surfaces promote faster cell attachment and stable bone integration, especially for patients with lower bone density.
- Precision Sub-Gingival Fit: The connection between the implant fixture and the abutment must be microscopically sealed to keep bacteria out and protect peri-implant tissues.
- Even Bite Force Distribution: Spreading chewing loads evenly across four, six, or more implants prevents excessive stress on individual fixtures.
You can explore these functional and cosmetic transformations in our smile gallery, where thorough clinical planning matches the final visual outcome.
Frequently Asked Questions About Dental Implant Results
How long after dental implant surgery are final after photos taken?
Final after photos are ideally taken three to six months following surgery. This timeline gives the jawbone enough time to fully integrate with the implant posts and allows the delicate gum tissue to settle and mature around the new restorations. Capturing photos after this healing phase ensures the visual results represent the stable, permanent smile rather than short-term post-operative swelling or transitional teeth.
What questions should I ask a dentist when reviewing their case photos?
When sitting down for a consultation, consider asking:
- Does this photo show the temporary provisional or the final permanent restoration?
- How much bone grafting was required to achieve this gum line and aesthetic contour?
- How closely does this patient’s starting bone and dental health match my current condition?
- How long has this patient had their final restoration in function?
Reviewing real clinical photos alongside patient reviews can help you get a clear sense of both the visual results and the patient experience.
Can underlying bone health impact visual implant results?
Yes. Bone volume and density directly dictate where implants can be positioned and how naturally the overlying gums drape around the teeth. For patients with reduced bone density or conditions like osteoporosis, careful diagnostic planning with 3D CBCT scans is essential. By selecting specialized micro-rough implant designs and allowing sufficient healing time, clinicians can achieve strong osseointegration and attractive, long-lasting aesthetic results.
Conclusion
A captivating before-and-after photograph is a great starting point, but a healthy, durable restoration involves much more than surface-level appearance. True smile restoration combines natural gum line contours, balanced chewing function, lifelike tooth translucency, and a strong structural foundation in the jaw.
At Gentle Family Dental Care, we take pride in serving individuals and families throughout Cache Valley—including our neighbors in Logan, Smithfield, North Logan, and Hyrum. With more than 20 years of experience, modern dental technology, and a warm, personalized touch, our team is dedicated to designing smiles that look natural, feel comfortable, and last for years to come.
If you are ready to explore what is possible for your smile, we invite you to reach out to our friendly team to arrange your comprehensive implant consultation today!